How to Assemble an Awning Frame | Step-by-Step DIY Guide
Learn how to assemble and install your custom awning with this step-by-step guide. From unboxing the frame kit to stretching the fabric and securing it to the wall, we walk you through each part of the process. Whether you're a DIY enthusiast or working with a professional, this video ensures a smooth, professional-looking result. 🔧
Start by assembling all the frame pieces. Each part is clearly marked with a number to help you match them correctly. Simply connect the pieces according to these numbers, but don’t secure them with screws just yet. Make sure all the parts are loosely attached and properly aligned before tightening anything. This will make the final assembly much smoother and ensure everything fits perfectly

Once your frame is nicely aligned and snug, it’s time to secure it with screws. You’ll find pre-drilled holes that make it easy to see exactly where each screw should go

Now it’s time to stretch the fabric. We recommend laying down a drop cloth first to protect it from accidental scratches or damage. It’s also a good idea to clean the surface with a bit of alcohol or water to remove any dust or debris before you begin.

Now comes the most interesting part — stretching the fabric onto the frame. Take your time with this step. For a cleaner, more professional look, you can use rope. Or, if you prefer something quicker and easier, zip ties work just fine. Basic knowledge of knot-tying will definitely come in handy.

If your fabric includes a graphic, make sure it’s positioned exactly where you want it before you begin stretching. Start by securing the corners and pull the fabric as tight as you can for a smooth, wrinkle-free finish

After securing the front corners of the fabric to the face of the awning, flip the frame over and fasten the top corners. Take your time with this step — properly securing all four corners first is crucial. It sets the foundation for an even, tight stretch across the entire frame. If the corners aren’t aligned and tightened correctly, the fabric may end up wrinkled, loose, or off-center, especially if it includes graphics. Once the corners are firmly in place, you can move on to securing the rest of the fabric along the edges for a clean, professional look

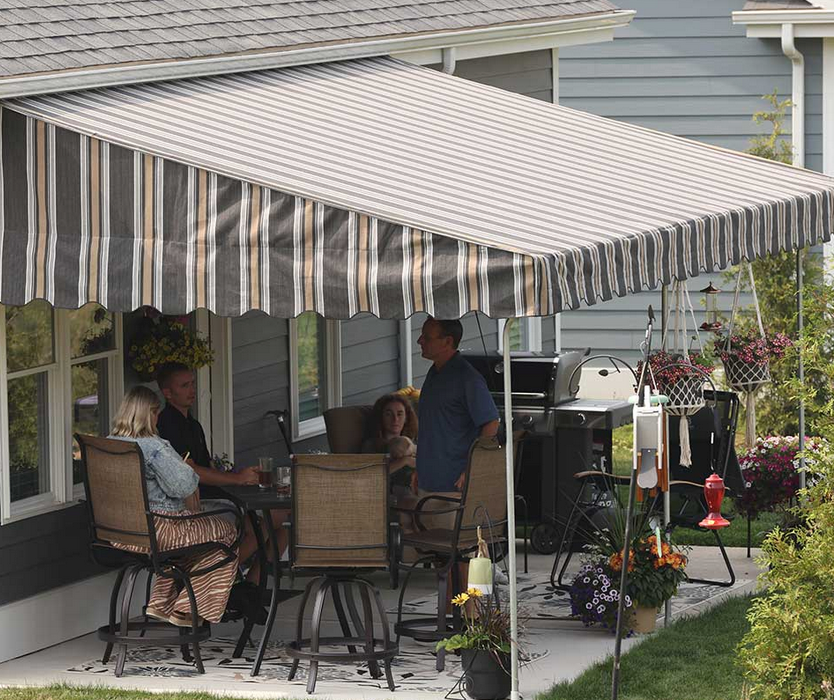
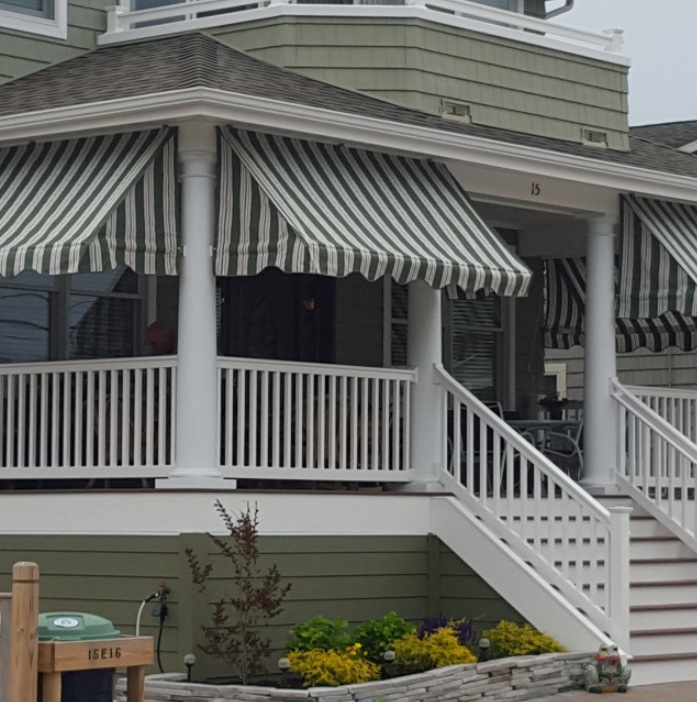
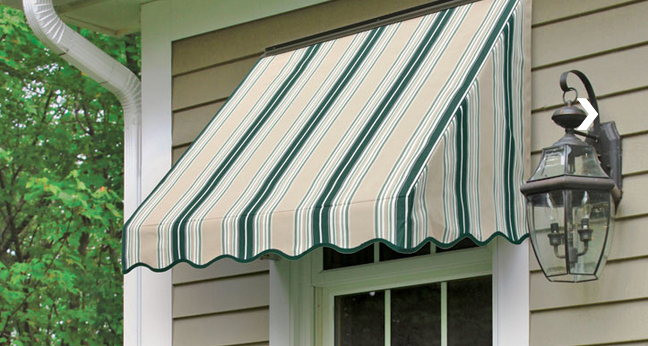
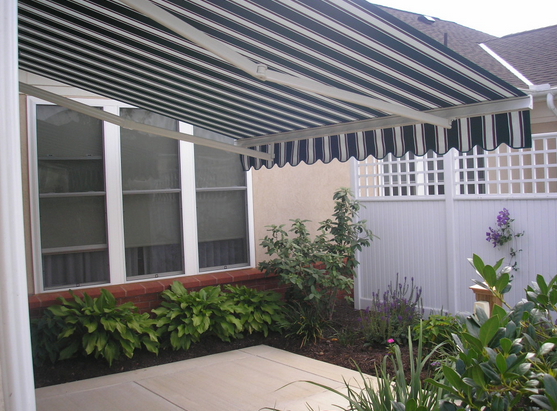
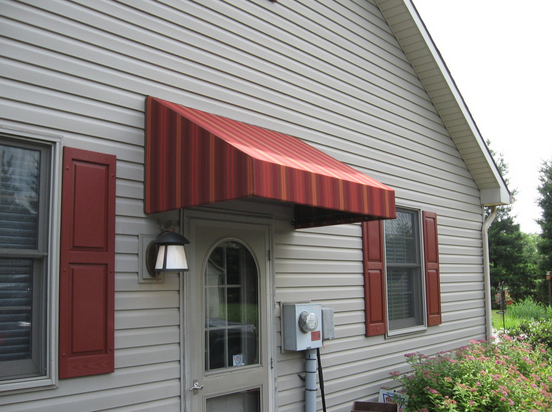
And finally — it’s installation time. We provide a standard installation kit that includes everything you need for a typical setup: industrial lag shields, lag screws, heavy-duty wall mount brackets, and self-drilling screws. However, since every building structure is different, we strongly recommend consulting with a professional installer to ensure your awning is securely and safely mounted to the wall